Fork Painted Christmas Tree Craft
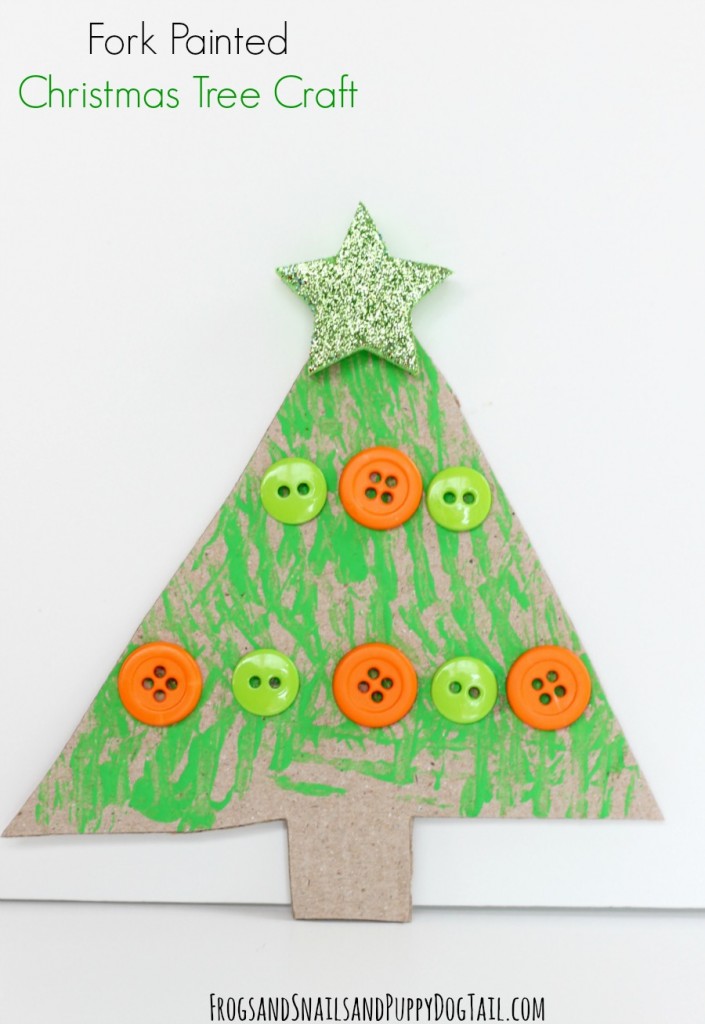
We are so excited to start Christmas crafting at the house. While the kids are little we have enjoyed Christmas with crafting, baking, and playing holiday themed games. We had some cardboard sitting out and I thought it would be perfect to make fork painted Christmas trees with the kids. I gathered some craft supplies and we had a fun time making these trees.

Fork Painted Christmas Tree Craft

This post contains affiliate links.
Supplies/what we used:
-
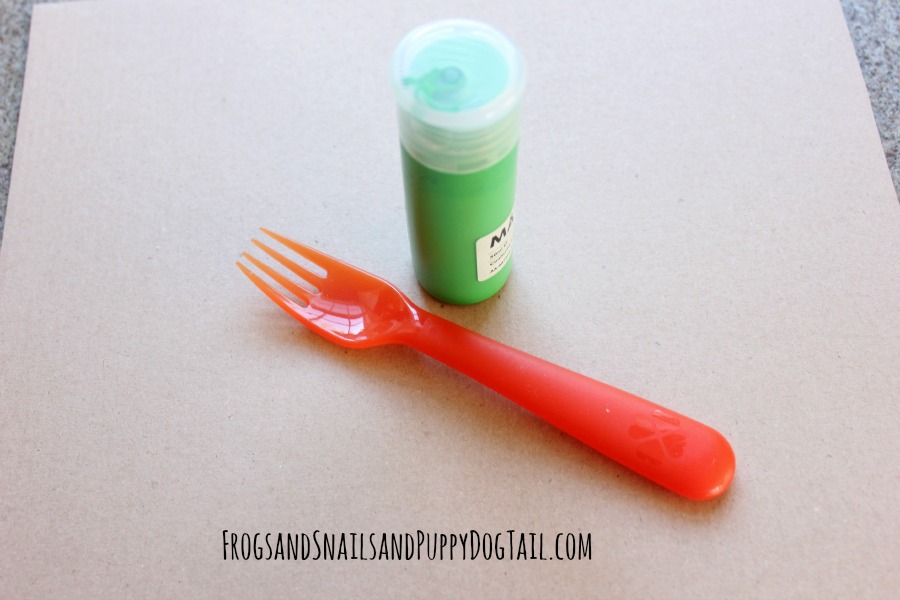
- green paint – similar Crayola Tempera Washable Paint 32-Ounce Plastic Squeeze Bottle, Green
- green paint – similar Crayola Tempera Washable Paint 32-Ounce Plastic Squeeze Bottle, Green
-
- fork
- cardboard
- scissors
- pencil
- star foam stickers from craftprojectideas.com- similar Creative Hands by Fibre-Craft Foam Glitter Stickers 2-1/4-Ounce, Stars
-
- colorful buttons – similar Blumenthal Lansing Favorite Findings Basic Buttons Assorted Sizes, 130/Pkg, Citrus
- colorful buttons – similar Blumenthal Lansing Favorite Findings Basic Buttons Assorted Sizes, 130/Pkg, Citrus
- glue

How to make a Christmas tree craft with the kids:
Take a pencil and trace trees out on it. Cut the trees out with scissors. Next take green paint and squeeze out on a plate or something similar.

Let the kids dip the fork in the paint and press it on the cardboard trees. Leave the trees to dry. An hour or so is probably long enough. Ours sat on the counter a few days before we came back to finish them.

Now that the paint was dry it was time to decorate our Christmas trees. I found colorful buttons and star foam stickers in the craft closet. I knew these would work great for this project.

The kids stuck the star stickers on the top of the trees. We picked out buttons and made patterns to decorate the trees with. This is a great time to go over colors with little kids.

Now we had our first Christmas craft of the season ready to display. I have not decided if I will add ribbon to these Christmas trees and turn them into ornaments or glue on clothespins so the trees can stand up. I better make my mind up quick or Christmas will have come and gone, lol.
More posts to check out:

Christmas and Winter Print Art


